
Mark it up without leaving the capture.
Draw right on the capture overlay the moment you select a region, or open the full image editor with ⌘E. Every annotation stays an object, so you can move, restyle, or delete it tomorrow.
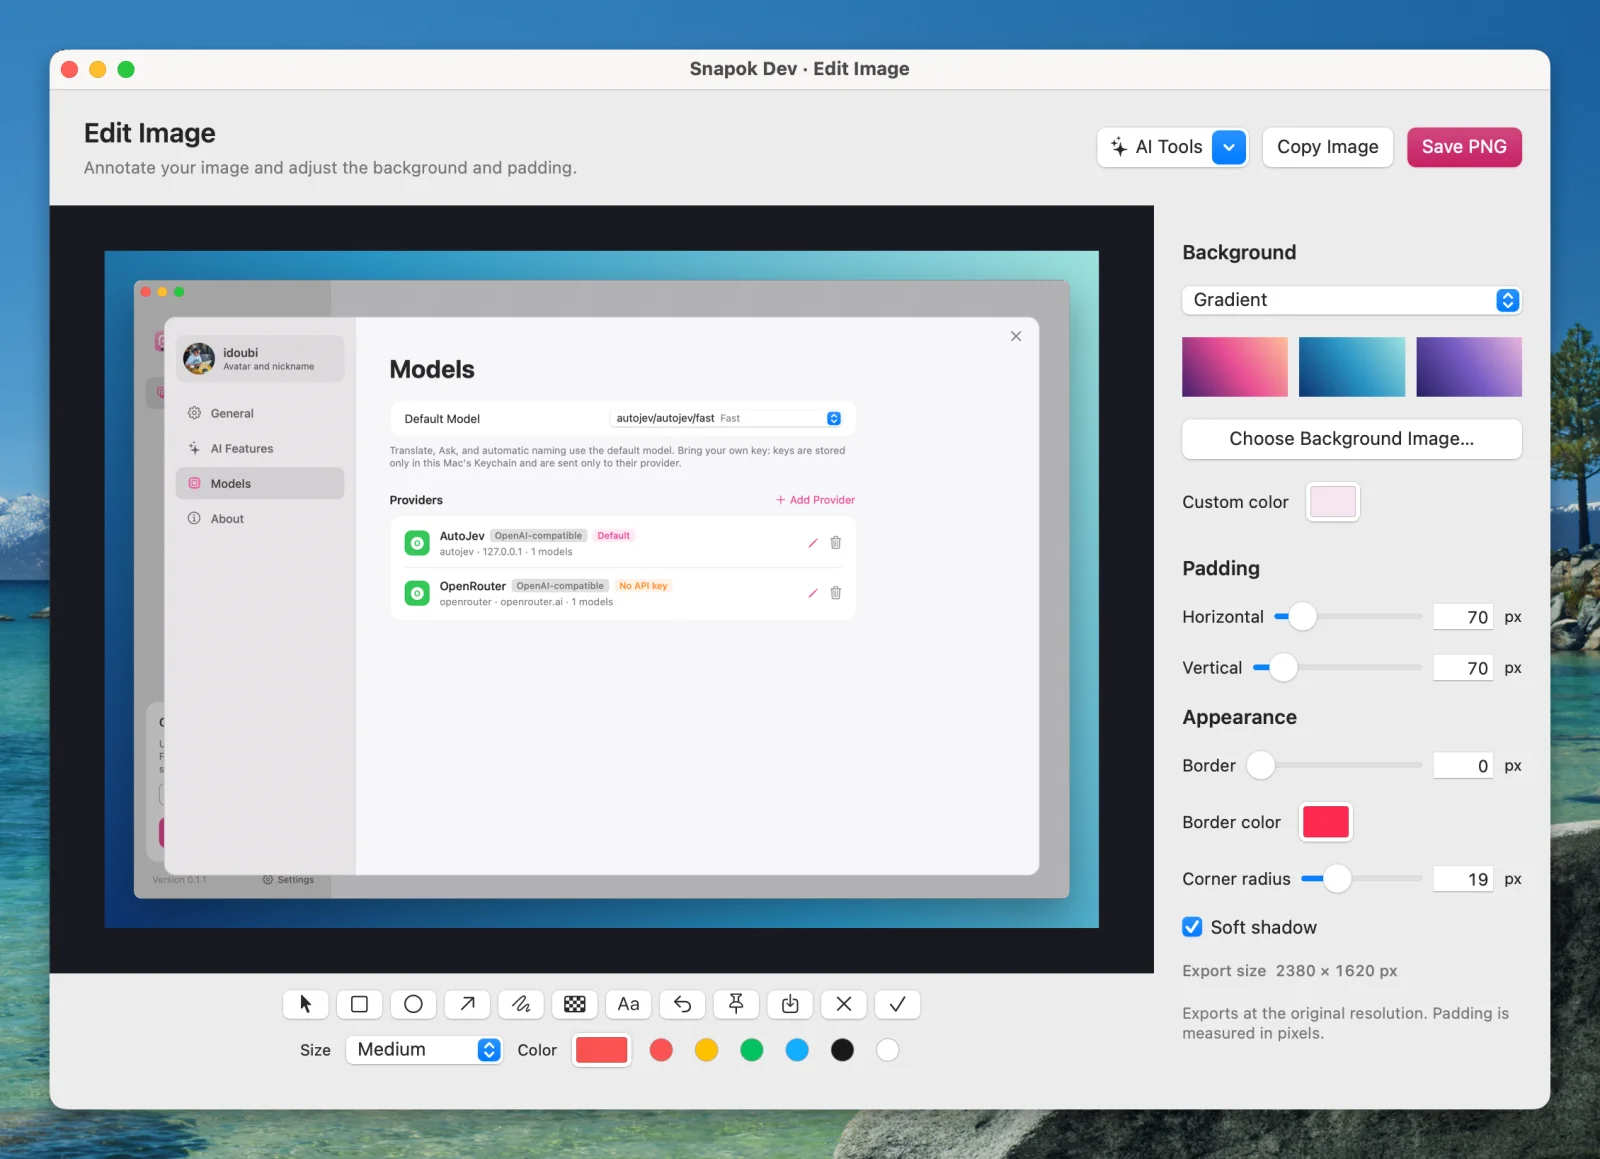
Six tools, one key each
Rectangle R, ellipse O, arrow A, pen P, mosaic M, text T, and V to select. Sizes on 1 / 2 / 3, or [ and ] to step.
Editable after capture
Annotations are saved with the screenshot. Double-click it in your library and keep editing; changes are written back when you close it.
Real text styling
Pick a font family, a size in image pixels, and bold. Styles survive saving, reopening, and exporting.
Mosaic for anything private
Pixelate a region by hand, or let the on-device masking find phone numbers, emails, ID numbers, and keys for you.
How to annotate a screenshot on Mac
- 1Press ⌃⌘A and select a region.
- 2Pick a tool from the toolbar or press its key (R, O, A, P, M, T).
- 3Draw. Press ⌘Z to undo, Delete to remove the selected annotation.
- 4Press ⌘C to copy or ⌘S to save, at the original resolution.
How Snapok compares
Who uses it
Frequently asked questions
Can I edit annotations after I’ve copied the screenshot?
Yes, if auto-save is on. The screenshot and its annotations land in your library; double-click to reopen them in the editor.
Can I zoom in to annotate small details?
Yes. Pinch on the trackpad, use the canvas controls, or ⌘+ / ⌘− and ⌘0 to fit.
Related features
Try Snapok free on your Mac.
Free and open source. macOS 14 or later, Apple Silicon and Intel.